Browse all docsPart 1 of 8
Getting Started with Quicktalog
What Quicktalog is, who it is for, and how to go from a new account to your first live catalogue. Start here if you have not built one yet.
Part 1 of 83 min read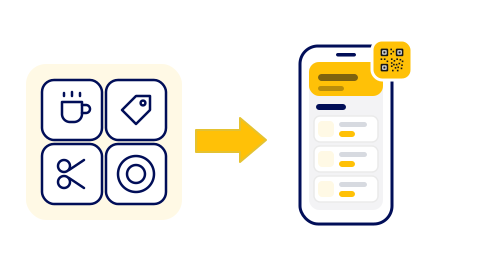
Quicktalog turns your products, services, or menu into a digital catalogue that lives on a single link. You build it once, share it with a link or a QR code, and update it whenever a price or an offer changes. There is no app for your customers to install and no designer or code on your side.
These docs are written for the person running the business, not a developer. They walk through the whole flow in order, from signing up to sharing a finished catalogue and reading the results. If you are brand new, read this page first, then follow the topics in sequence.
Create your account
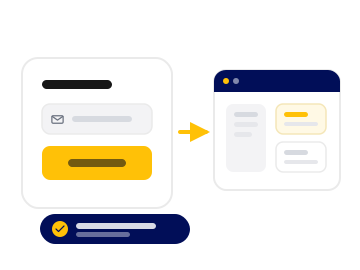
Sign up with an email address to reach your dashboard. The free Starter plan lets you build and publish one catalogue with no time limit, so you do not need to enter a card to try the whole thing end to end.
Get to know the dashboard
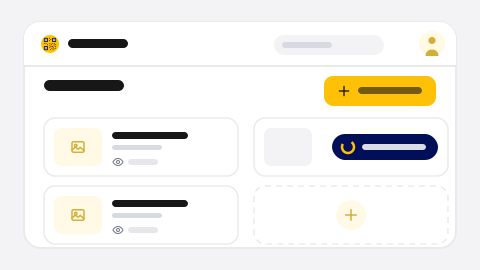
The dashboard is your home base. It lists the catalogues you have created, gives you a button to start a new one, and shows the status of any AI or import jobs that are still running. Each catalogue card is the way into its builder, its analytics, and its QR code.
Step 1: Sign up
Create your account with an email address. You land on the dashboard right away, on the free plan.
Step 2: Open the dashboard
This is where every catalogue lives. From here you create new ones and open the ones you are working on.
Step 3: Start your first catalogue
Pick how you want to begin: a blank page, an AI draft, or a photo import. The next topic covers all three.
How the pieces fit together
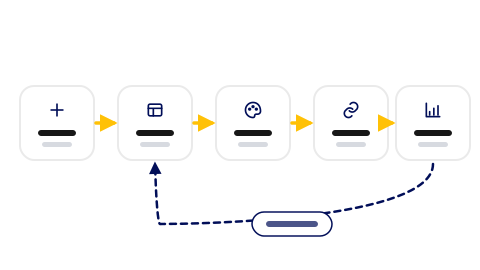
The rest of the docs follow the natural order of building a catalogue. You create a draft, shape it in the builder, make it look like your brand, publish and share it, then watch how it performs and adjust. Each step has its own short topic, so you can read straight through or jump to the part you are on.
Was this helpful?