Browse all docsPart 3 of 8
Build and Edit Your Catalogue
How the Quicktalog builder works: add and edit items, group them into categories, add content blocks, and find your way around the settings tabs.
Part 3 of 85 min read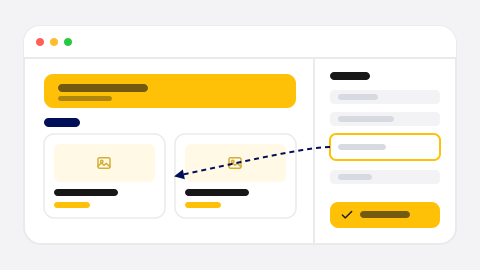
The builder is where a draft becomes a real catalogue. It shows a live preview of your page with a settings panel beside it. Every change you make appears right away, so you always see exactly what a customer will see. Your work is saved to the draft as you go.
Add and edit items
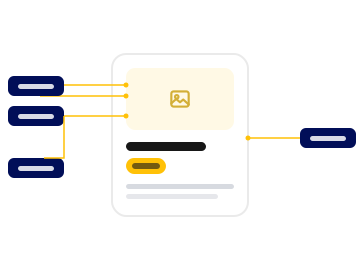
An item is a single thing you offer. Add one, then give it a name, a price, a photo, and a short description. Good photos and a clear line of description do most of the selling, so spend the time on the items that matter most. You can come back and edit any item later without republishing from scratch.
Step 1: Add an item
Create a new item in the category you want it to sit in. An empty item appears in the preview, ready to fill.
Step 2: Fill in the details
Set the name, price, and a short description. Add a photo for anything you want to stand out.
Step 3: Arrange the order
Put your strongest items near the top of their category. People scan from the top, so lead with what sells.
Group items into categories
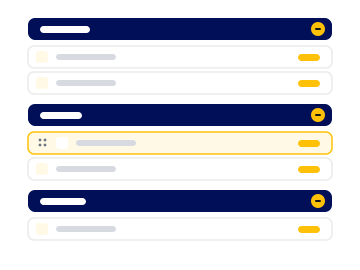
Categories keep a catalogue tidy. On a menu that might be starters, mains, and drinks. In a salon it might be the service types you offer. Group related items together and your page stays easy to scan even as it grows.
Add content blocks
A catalogue is more than a list. Text blocks let you add a welcome note, opening hours, or a short story about the business. Dividers break the page into clear sections. On higher plans you can also embed outside content, like a booking widget or a map, and add custom code for anything bespoke.

Find your way around the tabs
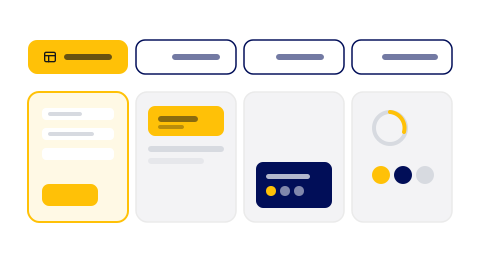
The settings panel is split into four tabs so each kind of setting has its own place. General holds the basics, Header controls the top of the page, Footer covers business details and links at the bottom, and Appearance is where you change the look. The next topic covers Appearance in full.
Was this helpful?